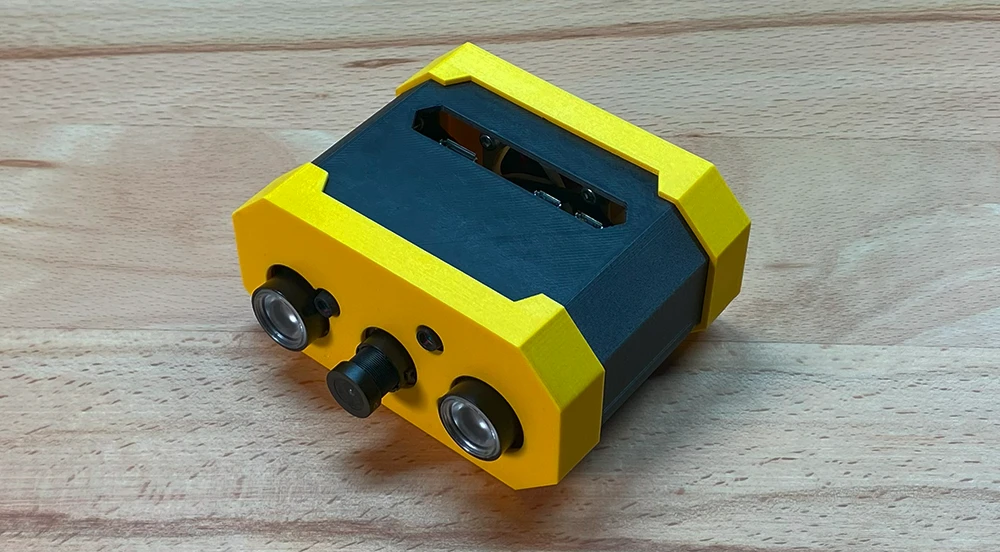
Build Your Own Cheap, Reliable Security Camera with a Raspberry Pi Zero That Won't Ever Go Missing
2024/01/22
Wanna show you what I've been working on:
Pros:
- Practical case
- Cheap
- Can run anywhere
- Won't ever get lost
Conras:
- Low framerate due to RPI Zero
- Will trigger from any movement (including plants)
Perfect for indoors! I've been running it whenever I leave my house inside in my room for the past half a year, never had any problems.
Why won't it get lost? Well, because it has a slot for an Apple Air Tag. The idea was that, in case a potential burglar discovers the camera and decides to take it with him you could simply track them ;)
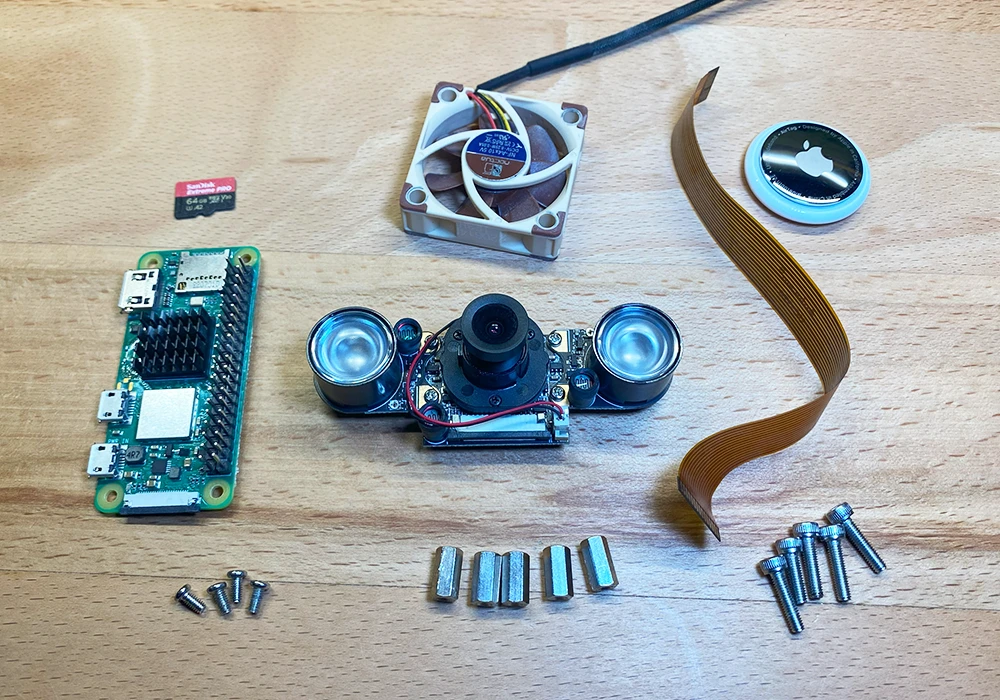
Shopping List:
- Raspberry Pi Zero W (preferably 2)
 Buy here
 - Raspberry Pi Micro USB Power Adapter
Buy here
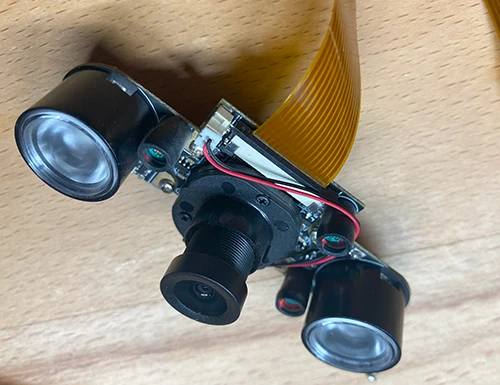
- Raspberry Pi Camera day/night vision
Buy here
- 6x M2.5x10 spacers
Buy here
- 6x M2.5x5 screws
Buy here
- 4x M3x12 screws
Buy here
- SD Card
Buy here
- (optional) Noctua 40x10mm Fan
Buy here
- (optional) Apple Air Tag
Buy here
For the power bank:
- (optional) Power bank
Buy here
- (optional) Micro USB Cable
All Parts Laid Out:
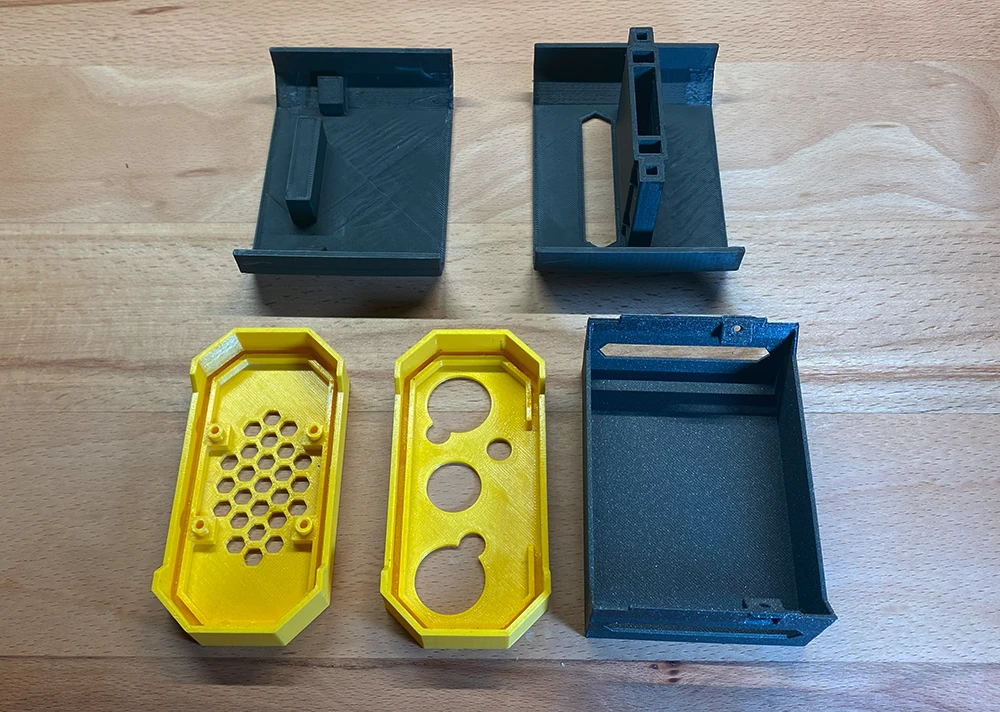
Additionally you also need the spacer holders.
I made these because spacers have different sizes and materials differ to the point where sometimes things don't fit.
So if you got the files you can find several sizes. Sadly the only way to test if they'll fit is to print them out and check yourself.
If you got the kit, it's all gonna fit perfectly.
Add the spacers to the holders:
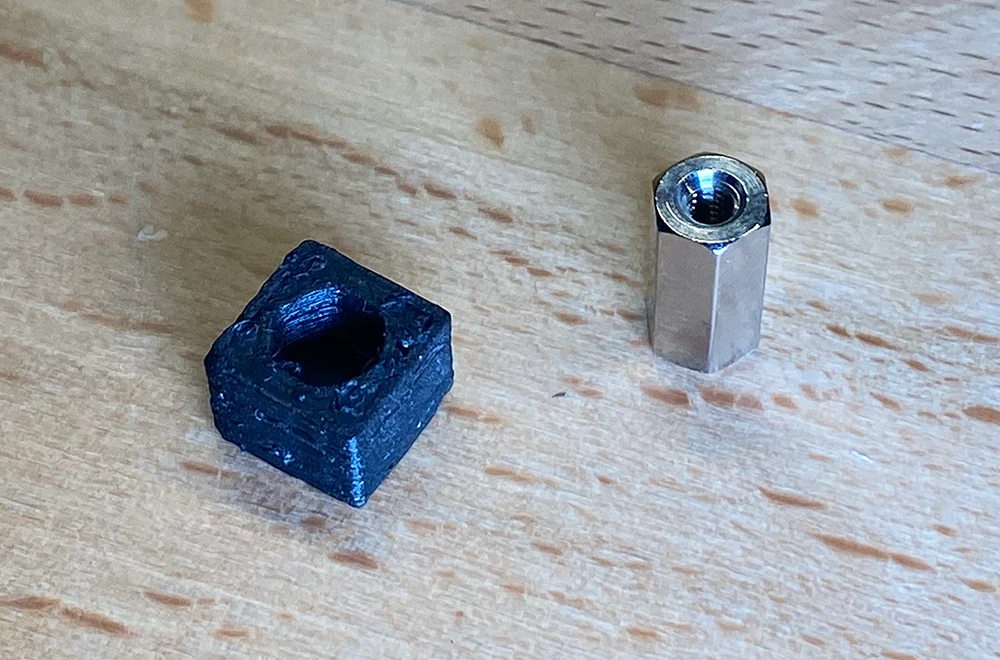
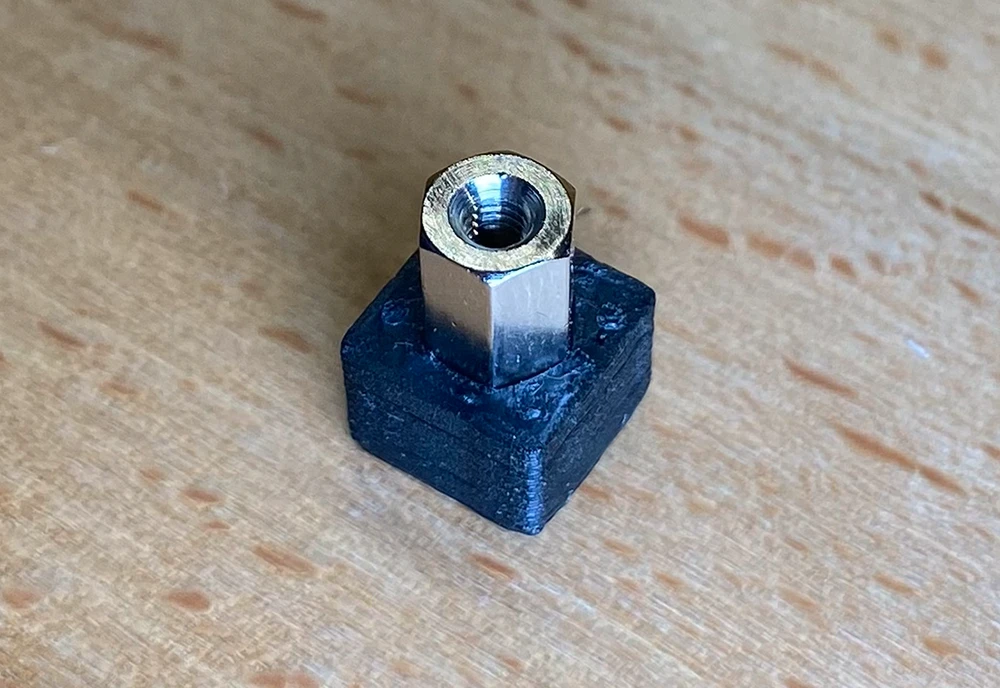 If there is no friction you can also add some glue to the holders to make sure the spacers don't fall
out.
If there is no friction you can also add some glue to the holders to make sure the spacers don't fall
out.
Add the holders to the bottom frame:
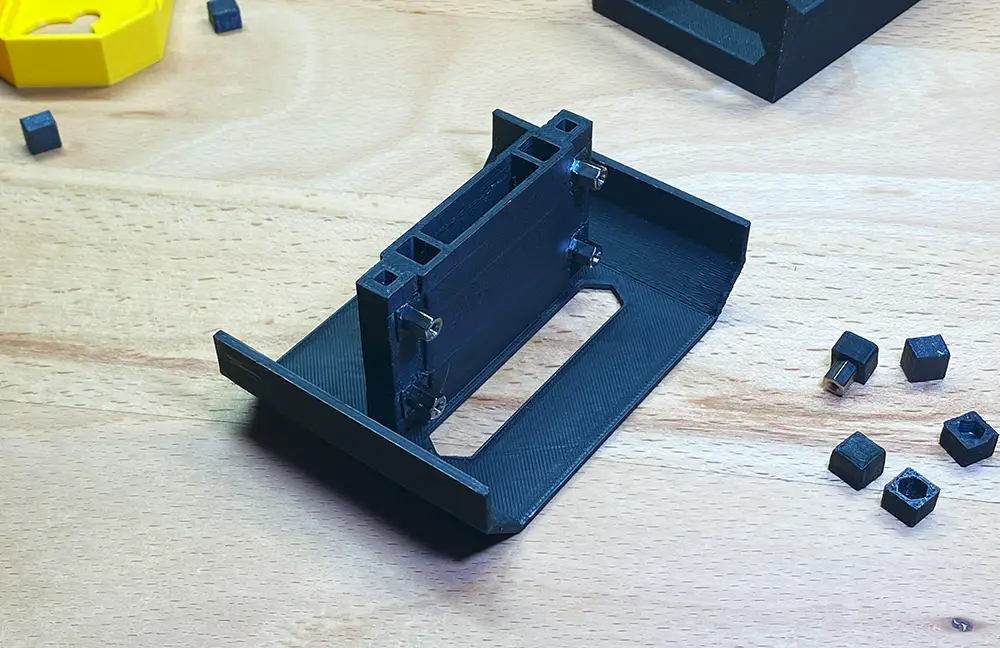
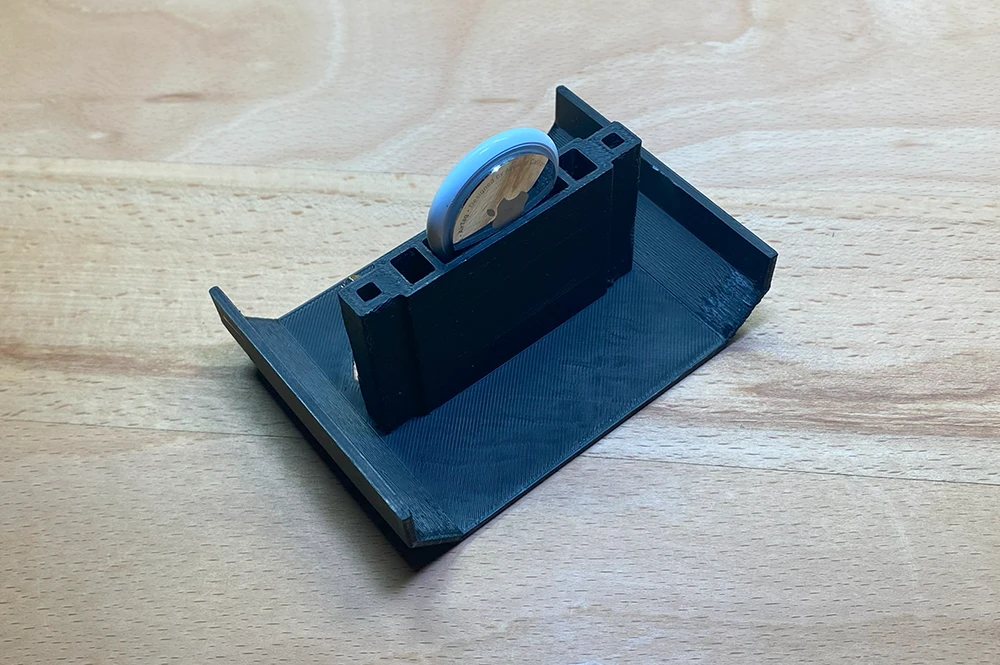
(optional) Slide the Air Tag into its slot:
Add spacers to the top frame:

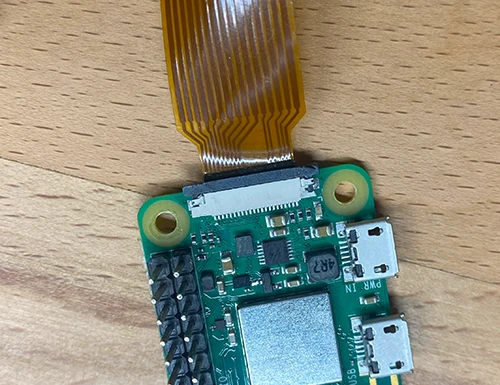
In the next step, you should first connect the CSI camera cable with the Raspberry Pi Zero, then
screw the Pi onto the bottom frame using the M2.5x5 screws:
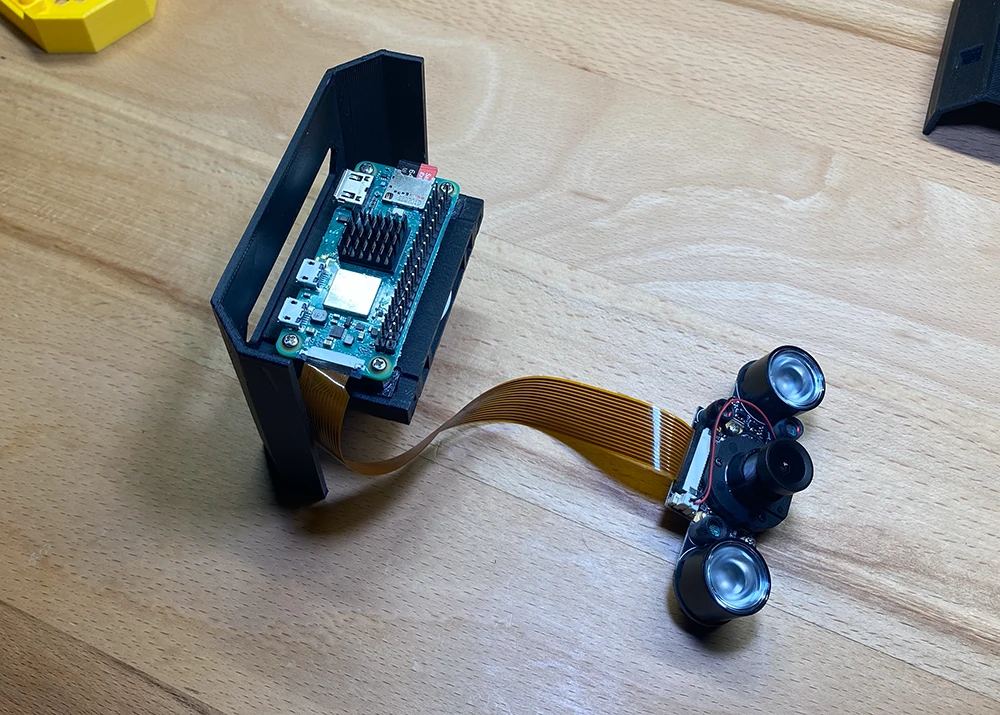
Pay attention to the orientation of the camera cable:
(optional) Attach the fan to the back panel using the M3x12 screws:
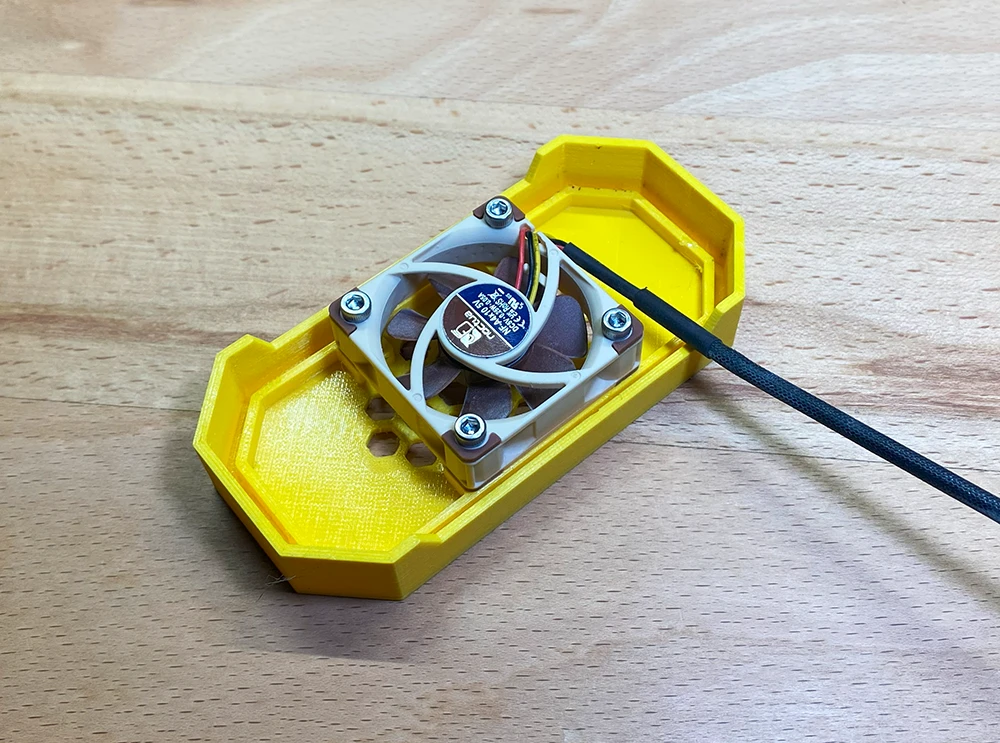
(optional) Connect the fans cable to the Raspberry Pis pins (V5 and
GND):
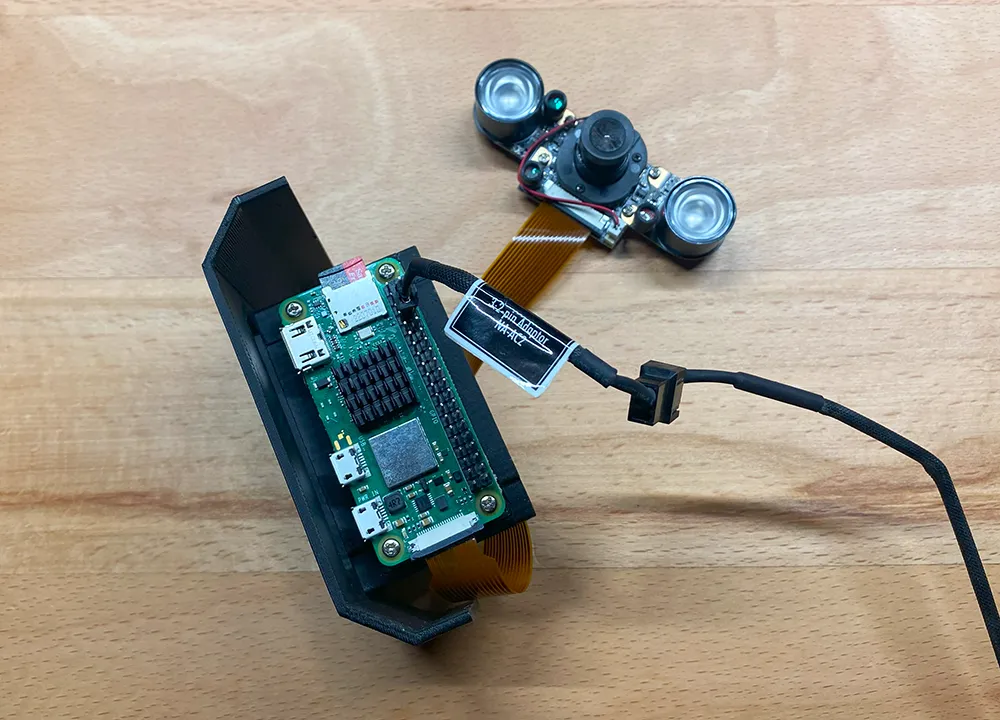
Cram the whole thing in using the top frame. It can be a bit tricky with all the cables but
you'll manage. Just make sure the cables don't hinder the fan from spinning.
 Also, either attach the camera module using screws (if possible) or simple lay it on top of the spacers,
it will hold in place when you put on the front panel.
Also, either attach the camera module using screws (if possible) or simple lay it on top of the spacers,
it will hold in place when you put on the front panel.
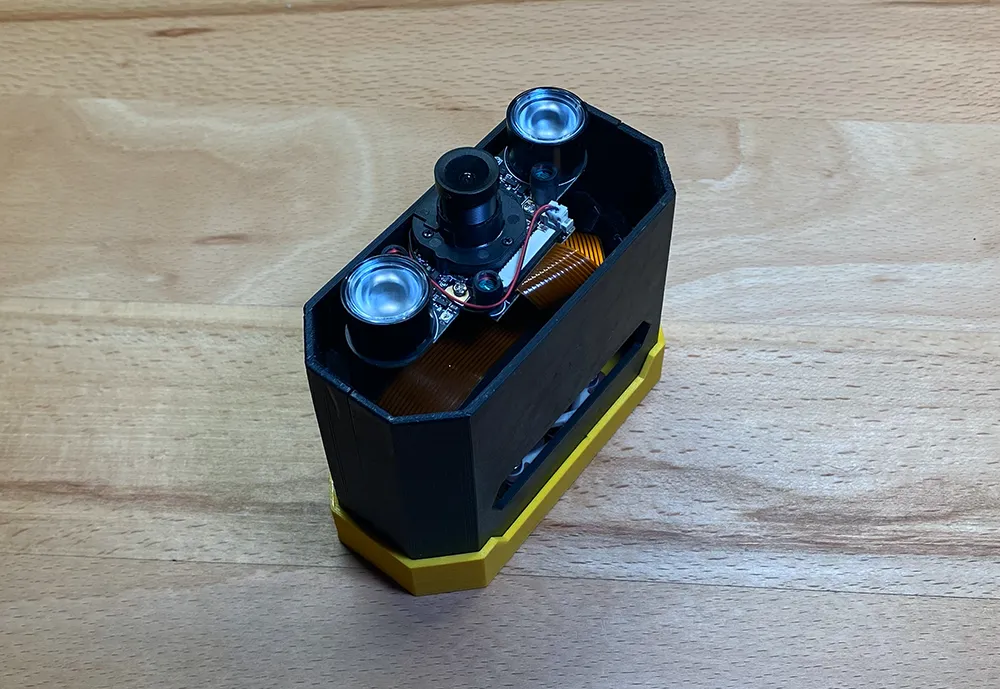
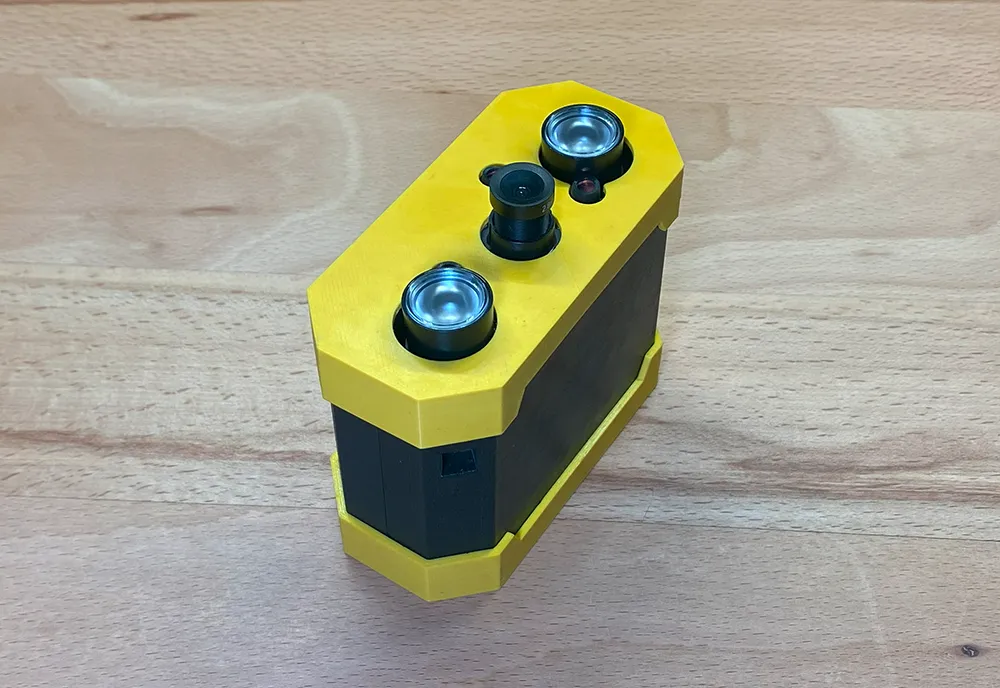
Now slide over the front panel and you're all set with the hardware part:
Software
For the software part simply install MotioneyeOS on the SD card.GitHub: https://github.com/motioneye-project/motioneyeos
Direct download link: https://github.com/motioneye-project/motioneyeos/releases/download/20200606/motioneyeos-raspberrypi-20200606.img.xz
You can find a guide on how to install it on the GitHub, or simply look up a tutorial on YouTube.
hafnarr@gmail.com
Copyright 2023 - 2026 hafnarr